Something more...

Sunday, January 12, 2014

Finally Finishing the Kitchen!

The Floor… After the granite countertops were finished we decided the old vinyl floor needed to go and we would put in some 16x16 ceramic tile.  The kitchen and laundry room all run together and must have all the same floor.  It was a big job and we wanted it to be right so we hired a local builder to come in and do it for us.  He was awesome and tried not to inconvenience us too much but the first picture shows our refrigerator and bakers rack in our sitting room.  Lucky for us we have a basement and we were able to store all the appliances and other furniture there during the reno. Just know that anytime you do house renovations you will have inconvenience.

As you can see my refrigerator was doubling as my filing system.

I did not have any really clear pictures of the floor pre-tiled so here are a couple of shots that I could find. This is me on the first day of school.  Ignore me…Look at the floor. HA! This is also pre-granite.


This picture was taken the day the granite went in and we are doing some cleaning up. This shows the floor as vinyl.

TADA. Tile is going down.


These two pictures are during the construction phase. 
Laying the tile and before grout was applied. 


 These are the final pictures of the kitchen all done and I am thrilled with the outcome.  We used a brown grout which was darker than the tile itself.  


Almost two years later I love my kitchen. Every penny we spent and every inconvenience we went through to get it done was worth it.  Family and friends always gather in my kitchen and special memories are made here. I will finish with a few pictures of the fun times we have had gathering here since the renovation.  I pray God continues to bless us with many more happy memories here. 


Friday, January 3, 2014

Kitchen Remodel Continued


I'M BACK!  Oh my it has been such a long time since I posted something new.  So much has been going on and many changes have happened.  Here are some photos to get you up to date on the kitchen  makeover.  We put in a beautiful granite in our kitchen. The pictures are showing the before, during and after of this change.
 This is the "before" picture. We bought the house with the laminate type countertops.  They served their purpose for several years and it was time for an upgrade. "Out with the old and in with the new."

This is how everything looked after the counters were taken out. If you decide to do this just know there will be a lot of dust and clean-up afterward but it is totally worth it. In these two pictures you can also get a good look at the tile backsplash my husband and I designed.  We pieced each of the center square mosaic tiles together with some glass tiles found on Ebay.  The kids even helped design a few which makes them really special.  Then we put those together with some larger cream, light brown and dark brown tiles from Home Depot.  

 This picture shows the sink I chose. It is a beautiful brown granite composite sink. Unscratchable and will not fade or change color ever!  The faucet is a delta touch.  My hubby really liked this one and picked it out. It worked out great.  It looks fantastic. The finished product is shown in all the following pics.  It is the best thing I ever did for my kitchen and I love it.


  Stay tuned. In the last year we have put in new tile in the laundry, kitchen and remodeled two bathrooms. More to come.

Sunday, October 30, 2011

Halloween Mummy Cakes

It is Sunday night and I wanted to show you my final Halloween project of the year.

Right now I am sporting a splitting migraine and I have a 7:30 meeting in the morning. Then off to work, 90- 5th graders on Halloween Day...Scary!  Then dinner and off to trick-or-treat.  Whew!
Ok enough of that... Thanks for letting me vent. :)

Real Quick... I wanted to make Mummy Cakes for my son's first grade class.  It is soooo simple.
Twinkies (The number you want. I made 22.)
White Frosting
Cake decorating flat tip and bag
Wilton cake frosting in "glue like" squeeze bottle (or you can use mini chocolate chips) I already had the frosting so I used it this time.
That's all folks!

1.Place Twinkies on a serving tray
2.Pack the Frosting in the frosting bag with the flat tip. Squeeze to remove air.
3.Cover the twinkles with the white frosting, using a sweeping left to right motion.
4. Apply black icing or chocolate chips to form two eyes.
5. Refrigerate

Here are the pictures.  They are so cute.  The students are gonna love them!
The last picture is myself and my husband dressed in our costumes.  We are Nerdy Disneyland Tourists!


Here is a close up of one of the Mummies!


Here are the mummies all laid out for burial. HAHA!


YES!  Nerdy Disneyland Tourists
We fit the part perfectly!

HAPPY HALLOWEEN!

Friday, October 28, 2011

Candy Apples

This is the time of year when we look forward to those yummy feel good foods.  This year I got inspired by the October issue of Family Circle in an article called "Sugar Coat it"  With two fall parties on the calendar for this weekend and Halloween night on Monday I thought this would be a great opportunity to try some of the candy apple recipes there. I also did a few variations of my own.  There is a learning curve involved in this so I will try to share any tips to make this easier for you if you try to do this yourself.

The inspiration magazine article showing pictures and the three recipes.
Step one:  Wash each apple being sure to rub all the wax off.

I decided to use bamboo skewers for the sticks.  They were too long so I used garden snips to cut them down to size.  I then stabbed each one through the top center and they were ready to be dipped.

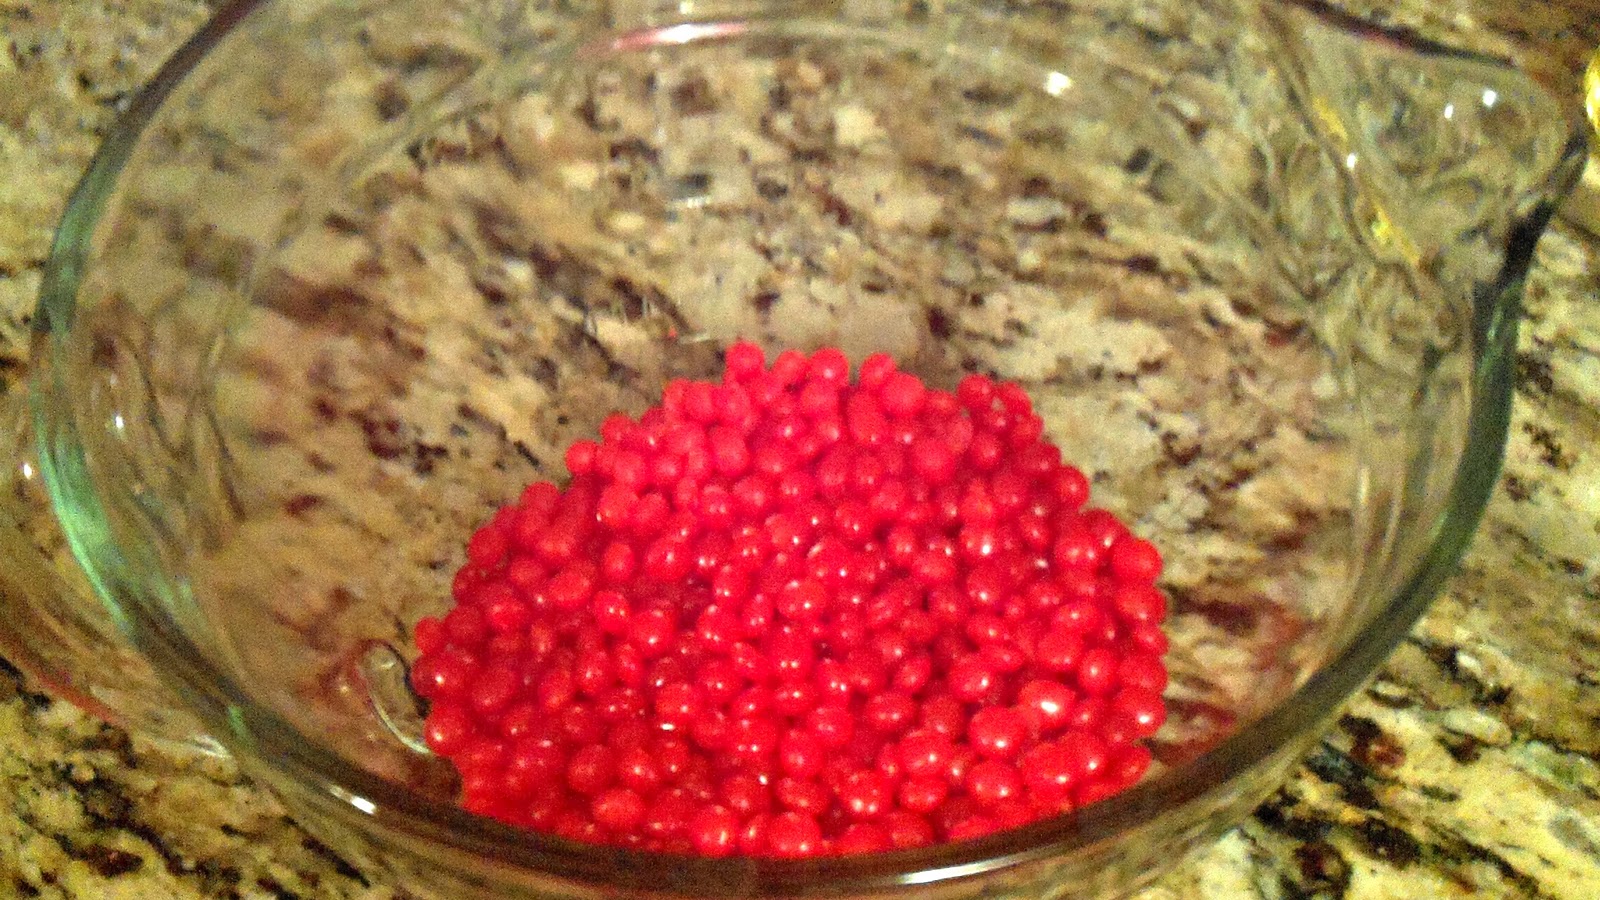
Red Hot Apples:  Use 2 cups of red hots in a microwave safe dish, with 3 T water and begin melting 30 sec. at a time stirring in-between until all candy is melted and smooth.  While holding the stick dip each apple into the candy coating.  Tip the bowl as needed to get complete coverage.  Let me warn you this stuff is sticky!! It also hards quickly and I didn't realize how soon it was harden.  I didn't get my sprinkles on very good for this reason.  After dipping place each apple on waxed paper or parchment paper sprayed with nonstick cooking spray.  Immediately sprinkle with red sugar sprinkles.  2 cups of red hots will dip 6-8 medium sized apples.  Let sit to dry completely or place in refrigerator to speed up the process.
Traditional Caramel Apples:  Melt 2 bags of unwrapped caramel candy in a microwave safe dish with 3T water. (Unwrapping the candy takes more time than dipping the apples) Microwave 30 seconds at a time and stir between each melting.  Eventually it will become smooth as silk.  Now you are ready to dip.  Hold the stick and dip each apple into the caramel.  Tip the bowl to allow for complete coverage.  After dipping each one set on wax paper or parchment sprayed with nonstick cooking spray.  Immediately add topping to each.  I added chopped toffee pieces to the top of mine but the magazine suggested chopped peanuts.  
This covers 8-10 apples.

Now here is where I got messed up.  See, it was getting late and I was trying to finish up the apples when my two sons came home from the football game.  Have you ever had two teenage boys come in the kitchen when you are cooking something yummy?  Well the game called 20 questions begins..."What are you making?", "Ooh, what's that?", "Can I eat this?", "Is this chocolate?", "Are these for us or are you taking them somewhere?",  "If I can't eat this, what can I eat?",  and so on and so forth, you get the idea.  Well at this point I was busy answering questions and forgot take a picture of the melting chocolate.  So imagine you see a picture of melting chocolate here...

<chocolate, mmm, yummy, white chocolate>

Cookies and Cream Apples:  Use 6 squares of white almond bark chocolate and 3 T of vegetable oil. Some people choose to melt chocolate in a the microwave but this never works for me and I struggle with melting chocolate successfully.  You can mess it up easily.  So I use a double boiler to melt chocolate and I must remind myself to be patient during the process.  Once it is smooth and creamy you are ready to dip.  Same as before holding the stick and turning to get complete coverage.  I added chopped cookies (Oreos) and chopped candy corn to the top of each apple.  I had to press it on the apple by hand, sprinkling won't work here.  Also, candy corn is hard to chop.  I wouldn't chop it if I did this again I would probably just lay the pieces on there in some kind of pattern.    
So here you see the finished products as they are all drying. 


 I left them out overnight to "rest" and dry.  This morning I put each apple in a plastic storage bag with the stick out the top.  I tied each one up with a little piece of black or polka dot ribbon.


Pack them up in a festive basket and I am ready to take them to the parties.  Looking forward to a great Halloween weekend.  Enjoy!
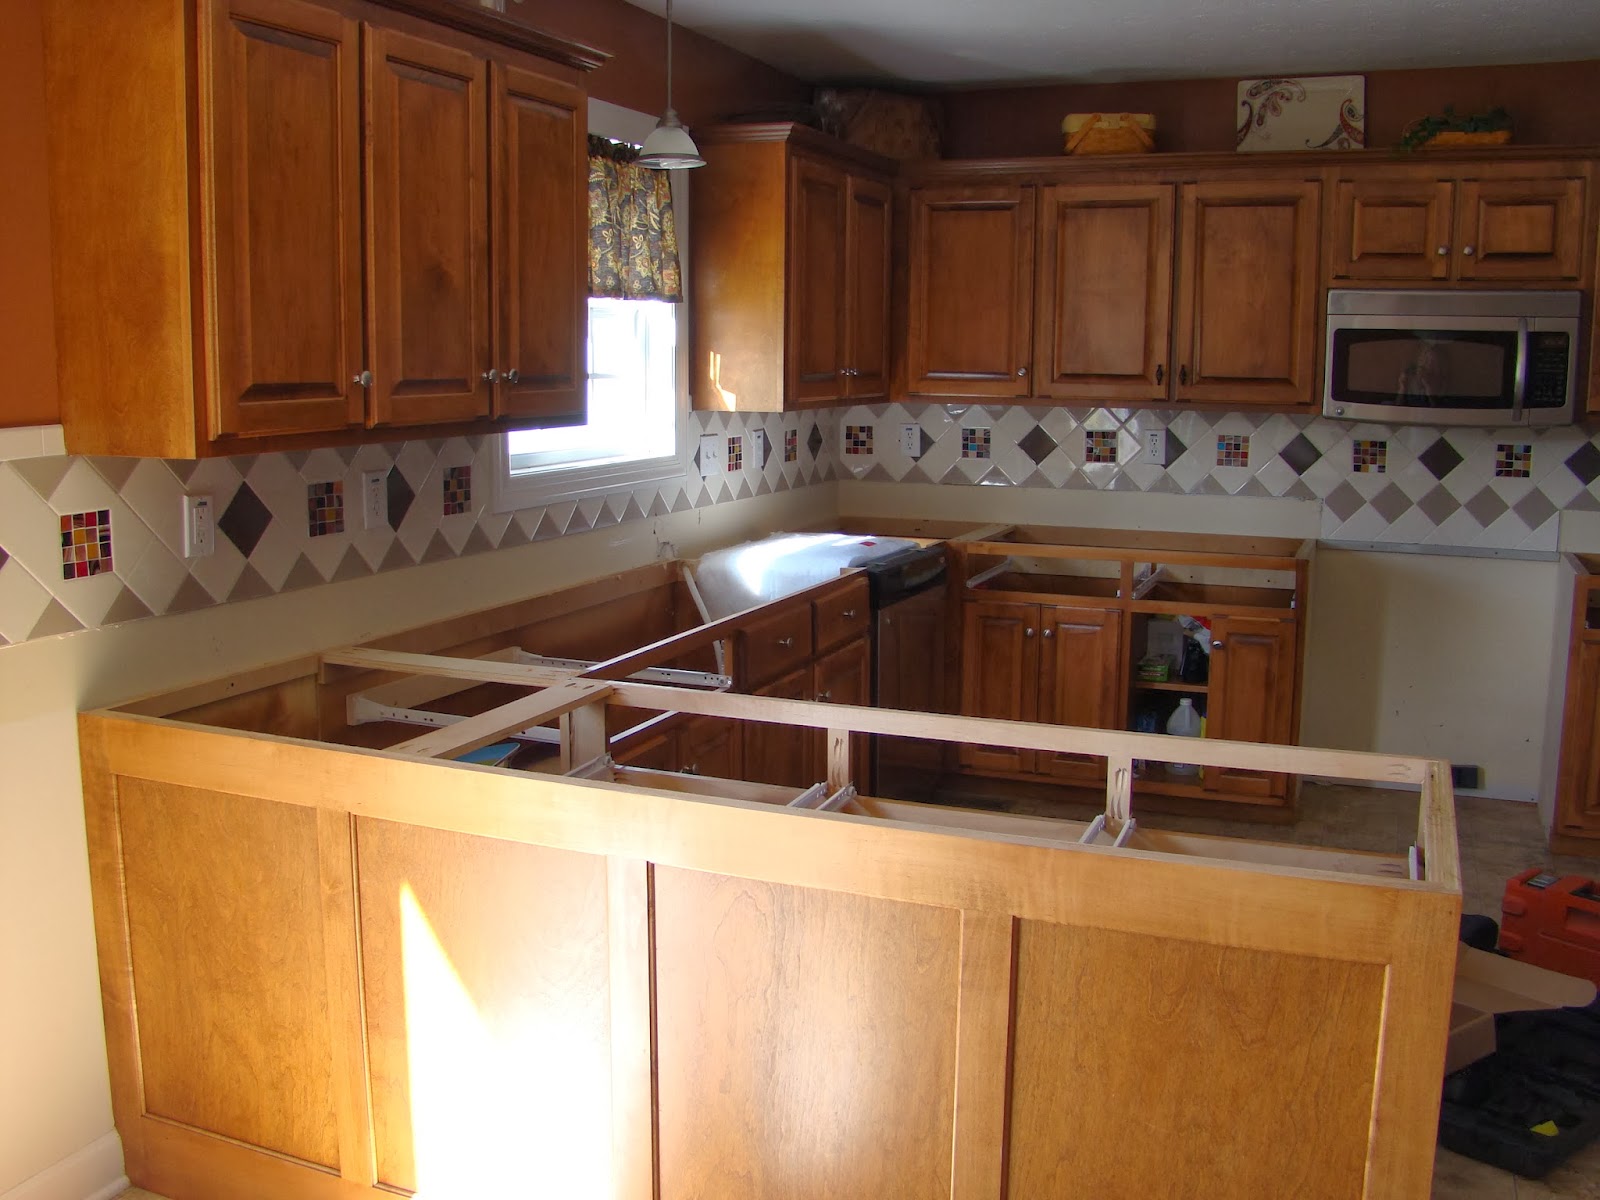
Monday, October 17, 2011

Laundry Room Makeover


Laundry-Noun (lawn-dree)
1. articles of clothing, linens, etc., that have been or are to be washed.
2. a room or area, as in a home or apartment building, reserved for doing the family wash.


Laundry is certainly not my favorite job in the house. In fact, I try not to do it at all but then it just piles up.  If I can talk someone else into doing the laundry for me, I do.  Often that doesn't happen and I realized that this room was the only room in the house that I had not given any love to since we moved in.  Following that thought, I realized the room was ugly and boring and who in their right mind would want to go in there for any length of time?  The room is 4ft. 3in. x 9ft. 9in.  Actually that is not such a bad size.  If this space was more attractive, inviting and functional maybe, just maybe, I would like doing the laundry and I might even get the rest of my family into the fun. 


The first three pictures are the laundry room before.  As you can see, the builder painted the room, uh, beige. I had my machines on pedestals, which raised them up about shoulder height.  There was a shelf above them that I could not reach so I used the shelf to house things I don't use very often.  Since I couldn't reach, I used to throw things up there and hope they didn't fall back down.  The new and improved pictures are following.
O my, I forgot how terrible it was.


I can reach all my shelves now.
The two baskets above the washer and dryer slide toward you for even better access.

The "thing" above the dryer is my stationary drying rack that fits in the dryer.
It is big and hard to store but essential.  The hanger for the ironing board was reused from it's previous spot. Brown baskets from Target, green tub on the top shelf is known as the "picking basket"mostly used for the vegetable garden.  
My rotissorie is also difficult to store but fits great up on the top shelf.  A nice hanging bar was added to hang all those things that don't go in the dryer.  Don't my homemade pickles, jellies, and relishes look beautiful on the shelves too? 
This mirror I made from an old window.  I basically cleaned it all up, painted it and installed 3 mirror pieces to the back of it.  Added some shiny little hooks and it looks fantastic.  Adds depth and shine to the room and I LOVE it.

Thursday, October 13, 2011

Fall Wreath

It's fall break here for myself and all the school kids.  I am very much enjoying my time away from my energy packed fifth grade superstars.  I am in the middle of my big laundry room project and will have the pics and details up of that by the first of next week.  ( I am determined to finish it by Sunday.) In the meantime here is a fall wreath I made back in the summer.  I was just playing around with some materials and I love the way it turned out.  The little birds look like they are settling in for the cool Autumn nights and I love the feathers.  I'm showing it on my front door and inside my living room.  I like it both places but I am afraid the wind and rain might get to it on the front door.  Anyway enjoy.